


A pod leaking from the bottom is defined as e-liquid escaping through the base of the pod, typically caused by worn seals, a flooded coil, improper filling, or incorrect storage. The fix involves inspecting each of these four failure points in order and correcting whichever one is responsible. Most bottom leaks are mechanical or behavioral, not defects you have to live with. Knowing how to fix a pod leaking from the bottom saves you e-liquid, protects your device, and keeps your sessions clean. This guide walks through every cause, every fix, and every habit that prevents the problem from coming back.
What causes a pod to leak from the bottom?
Bottom leaks in pod systems trace back to a short list of mechanical and behavioral causes. Identifying the right one before you start repairs saves time and prevents repeat leaks.
Worn or damaged seals are the most common culprit. The rubber O-rings and silicone gaskets inside a pod compress over time. Once they lose their shape, e-liquid finds a path straight down through the base. Seals degrade faster when pods are handled roughly or stored in heat.
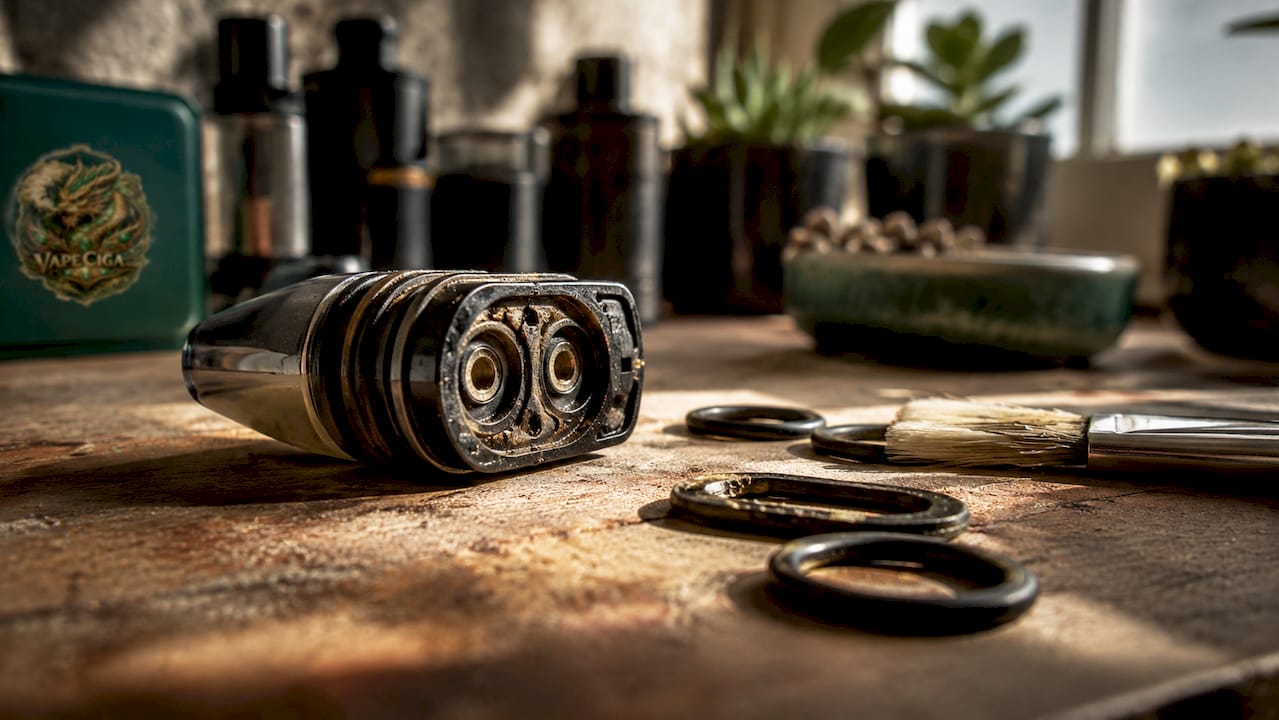
Faulty or improperly seated coils create a second major failure point. A coil that is cross-threaded, loose, or past its lifespan cannot hold e-liquid in the wick. Coils should be replaced every 1–2 weeks to prevent the degraded wick from releasing liquid downward. A worn wick is essentially a sponge that has lost its ability to absorb.
Improper filling causes more leaks than most users expect. Filling the wrong hole sends e-liquid directly into the air tube, which routes it straight to the coil chamber and out the bottom. Overfilling removes the air pocket that creates internal pressure balance, so liquid has nowhere to go but down.
Environmental factors accelerate every other cause. Temperatures above 40°C (104°F) cause e-liquid to expand and seals to soften, which speeds up leaking significantly. Storing a pod on its side lets gravity pull liquid through bottom airflow vents, even when seals are in good condition.
Condensation versus a real leak is a distinction worth making. True leaks involve thicker or colored liquid from mechanical faults. Condensation is thin, clear, and collects around the mouthpiece or contacts from normal vapor cooling. Treating condensation as a leak leads to unnecessary part replacements.
Pro Tip: Before pulling your pod apart, wipe the base dry and take one normal draw. If thick, colored liquid reappears immediately, you have a real leak. If the moisture is thin and clear, it is condensation.
What tools and preparations do you need before fixing a leaking pod?
Fixing a bottom leak requires almost no specialized equipment. Having the right items ready before you start prevents mid-repair interruptions.
| Item | Purpose |
|---|---|
| Paper towels or tissue | Absorb spilled e-liquid and dry pod surfaces |
| Isopropyl alcohol (90%+) | Clean seals, contacts, and pod base without residue |
| Cotton swabs | Reach tight spaces around seals and coil base |
| Replacement coil or pod | Swap out worn components causing the leak |
| Clean, flat workspace | Prevent losing small parts and keep surfaces dry |
Beyond the tools, preparation matters just as much. Let the pod cool to room temperature before handling it. Heat makes seals pliable and harder to inspect accurately. Know your specific pod model before you start. Pods with replaceable coils allow targeted repairs. Pods with integrated coils require a full pod swap when the coil fails.
Pro Tip: Check your pod model’s fill port location before every refill. Some pods have two ports: one for filling and one for airflow. Filling the airflow port is one of the fastest ways to flood the coil and trigger a bottom leak.
Step-by-step guide to fixing a pod leaking from the bottom
Work through these steps in order. Each step rules out one cause before you move to the next.
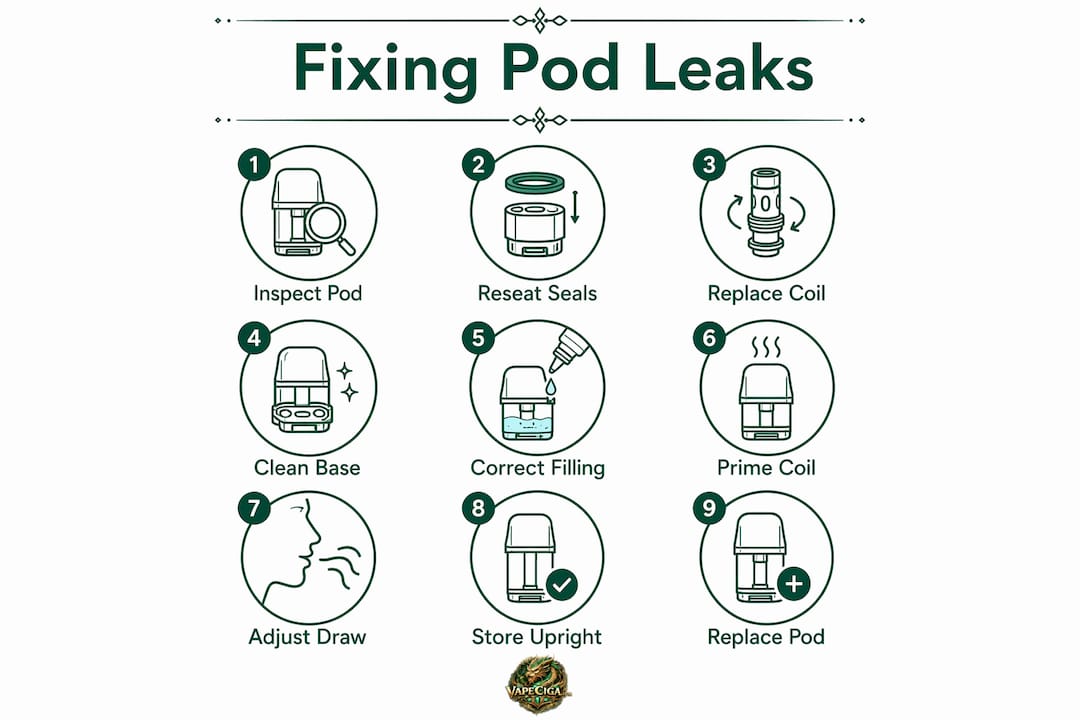
1. Inspect the pod for physical damage. Hold the pod up to a light source and look for cracks along the body and base. A cracked pod body cannot be repaired. Replace it. If the body is intact, move to the seals.
2. Check and reseat the seals. Remove the coil if your pod allows it. Look at the rubber O-rings around the coil base and fill port. Flattened, cracked, or missing seals cause direct leaks. Replace damaged O-rings if spares are available. If the seal looks intact, press it firmly back into its groove. Failure to reseat the rubber bung fully after filling is a frequent cause of bottom leaks that users miss entirely.
3. Inspect and replace the coil. A coil past its lifespan is the most common mechanical cause of bottom leaks. Pull the coil out and look at the wick material. Brown, dry, or frayed cotton means the coil is done. Install a fresh coil and seat it firmly so no gap exists between the coil base and the pod housing. Loose coils allow e-liquid to bypass the wick and drip straight down.
4. Clean the pod base and contacts. Dip a cotton swab in isopropyl alcohol and wipe the base of the pod, the coil seat, and the electrical contacts. Regular pod cleanup stops small leaks from worsening by removing pooled liquid that keeps seals from closing properly. Let everything dry fully before reassembling.
5. Refill using the correct technique. Insert your bottle tip into the fill port only, not the airflow port. Fill slowly and stop before the maximum fill line. Leaving a small air pocket at the top of the pod creates an internal vacuum that holds liquid in place. A pod filled to the absolute brim has no pressure buffer, so any squeeze or temperature change pushes liquid out the bottom.
6. Prime the coil before vaping. After filling, wait 5–10 minutes before taking a draw. This lets the wick saturate fully. Taking a draw immediately on a dry wick causes the coil to heat unevenly, which can crack the wick and trigger flooding.
7. Adjust your draw technique. Flooded coils from inhaling too aggressively push excess e-liquid through the bottom airflow vents. Take slow, steady draws at moderate pressure. If you hear a gurgling sound, the coil is already flooded. Remove the pod, cover the bottom airflow port with a finger, and blow gently through the mouthpiece onto a paper towel to clear the excess liquid.
8. Store the pod upright. Upright storage is critical for bottom-airflow pods because gravity pulls liquid through open vents when the pod lies on its side. Keep your device standing vertically when not in use, including in your pocket or bag.
9. Know when to replace the pod entirely. If leaking continues after replacing the coil, cleaning the seals, and correcting your filling technique, the pod housing itself is compromised. A cracked or warped pod body cannot hold a seal regardless of what else you fix. At that point, a fresh replacement pod is the only reliable solution.
Pro Tip: After reassembly, hold the pod over a paper towel for 30 seconds before inserting it into the device. Any remaining leak will show up immediately, saving your device’s contacts from e-liquid damage.
Common mistakes to avoid when fixing pod leaks from the bottom
Most repeat leaks happen because of a handful of predictable errors. Avoiding these keeps your pod dry after the repair.
- Overfilling the pod. Filling pods slowly and stopping below the max fill line prevents pressure buildup that forces liquid through seals. Filling to the brim removes the air gap that stabilizes internal pressure.
- Storing the pod horizontally. Pocket-time leaks are mainly due to horizontal storage. Even a well-sealed pod will seep through bottom vents when gravity works against it.
- Skipping coil replacement. Using a coil beyond 1–2 weeks means the wick can no longer hold e-liquid properly. The result is flooding and bottom leaks that no amount of cleaning will fix.
- Filling through the airflow port. This sends liquid directly into the coil chamber with no wick to absorb it. The liquid exits immediately through the bottom.
- Handling the pod roughly. Squeezing, dropping, or shaking a pod dislodges seals and can crack the housing. Treat the pod like a small glass container.
- Misidentifying condensation as a leak. Wiping the base and watching for thick, colored liquid confirms a real leak. Chasing condensation with part replacements wastes money and time.
How to prevent pod leaks from the bottom long term
Prevention is simpler than repair. These habits eliminate most bottom leaks before they start.
- Replace coils every 1–2 weeks, regardless of whether you notice a problem. Degraded wicks are the leading cause of recurring leaks.
- Store your device upright at all times. Use a small stand or keep it in a vertical pocket compartment.
- Keep pods away from direct sunlight and heat sources. Temperatures above 40°C (104°F) accelerate seal failure and e-liquid expansion.
- Use e-liquids with viscosity matched to your pod system. High-VG liquids are too thick for many pod coils and cause dry hits. Thin, high-PG liquids flow too freely and increase leak risk.
- Wipe the pod base and contacts weekly with a dry cotton swab. This removes pooled liquid before it works its way into seals.
- Leave a small air pocket every time you fill. This single habit prevents the majority of pressure-related bottom leaks.
- Inspect seals and the pod body every time you replace a coil. Catching a worn seal early costs nothing. Ignoring it costs a flooded device.
Key takeaways
Fixing a pod leaking from the bottom requires addressing seals, coils, filling technique, and storage in that order, since each factor independently causes bottom leaks.
| Point | Details |
|---|---|
| Identify the leak source first | Check seals, coil condition, and fill level before replacing any part. |
| Replace coils every 1–2 weeks | Degraded wicks cannot hold e-liquid and are the top cause of bottom leaks. |
| Leave an air pocket when filling | A small gap at the top stabilizes internal pressure and prevents seepage. |
| Store pods upright always | Horizontal storage lets gravity pull liquid through bottom airflow vents. |
| Clean seals and contacts regularly | Weekly wiping removes pooled liquid that prevents seals from closing fully. |
What I’ve learned from years of bottom-leaking pods
The fix that most people skip is the simplest one: the air pocket. Every time I watch someone refill a pod, they fill it to the absolute top because it feels right. A full pod should mean more vaping. What it actually means is a pressure bomb waiting for a warm pocket or a firm grip to push liquid straight out the bottom. Leaving that small gap at the top is the single change that eliminates most recurring leaks.
The second thing I’ve learned is that horizontal storage causes more leaks than bad coils do. People blame the coil, buy a replacement, and then drop the device in a jacket pocket on its side. The leak returns within an hour. The coil was never the problem. Gravity was.
I’ve also seen users chase leaks with increasingly aggressive fixes, like taping seals or using thicker e-liquid, when the real answer was a two-dollar replacement pod. If you have replaced the coil, cleaned the seals, corrected your filling technique, and stored the pod upright, and it still leaks, the pod housing is done. Accept it and move on. A fresh replacement pod cartridge costs less than the e-liquid you will waste trying to salvage a cracked one.
— James
VapeCiga has what you need to stay leak-free
Persistent bottom leaks often come down to one thing: worn-out components that need replacing. VapeCiga carries a full selection of replacement pods and pod systems built for reliable, mess-free performance. Whether you need a fresh pod cartridge, a quality coil, or a new device with better seal engineering, VapeCiga’s catalog covers every major pod platform.

If you are ready to move past the leak frustration entirely, the Packspod 5000 is a high-reliability option worth checking out. VapeCiga ships across the United States and stocks the accessories that keep your setup running clean. Browse the full selection at VapeCiga and find the right fit for your pod system.
FAQ
Why is my pod leaking from the bottom after refilling?
Overfilling removes the air pocket that stabilizes internal pressure, forcing e-liquid out through the base. Fill slowly, stop below the max line, and leave a small gap at the top.
How often should I replace my pod coil to prevent leaks?
Coils should be replaced every 1–2 weeks. A degraded wick cannot absorb e-liquid properly, which leads directly to flooding and bottom leaks.
Can I fix a leaking pod without replacing any parts?
Yes, if the cause is improper filling or horizontal storage. Correct your fill level, leave an air pocket, store the pod upright, and clean the base with a cotton swab. If the coil or seals are worn, part replacement is required.
What is the difference between a pod leak and condensation?
True leaks produce thicker, colored liquid from the base due to seal or coil failure. Condensation is thin, clear moisture that collects around the mouthpiece from normal vapor cooling and does not require repair.
Does temperature affect pod leaking?
Temperatures above 40°C (104°F) cause e-liquid to expand and seals to soften, which accelerates leaking. Keep pods away from direct sunlight, hot cars, and heat sources to protect seal integrity.