


Close the airflow, pull the tank off the mod, and set it upright on a paper towel before you touch anything else. That single move stops most leaks from spreading to your battery or pocket. Once it’s contained, check the O-rings and coil seating. If juice is still pooling after a wipe down, the coil probably needs to come out and get reseated or swapped.
TL;DR:
- Most vape tank leaks result from setup errors, such as opening the airflow during filling or mismatched PG/VG ratios, rather than hardware failure.
- Closing the airflow and properly reseating or replacing worn O-rings usually stop leaks caused by pressure imbalance or seal deterioration.
- Leaks from airflow holes often stem from flooded coils, which can be cleared by covering the holes and re-priming the coil before vaping normally.
- Damaged glass, misaligned seals, or loose connections at the base or 510 pin frequently cause leaks and require targeted inspection and reseating.
- If multiple repair attempts fail and the tank shows physical damage, replacing it is often more cost-effective and safer than ongoing troubleshooting.
Table of Contents
- How Do You Fix a Leaking Vape Tank Right Now?
- Why Is My Vape Tank Leaking?
- What’s the Right Fix for Each Type of Leak?
- How Do You Prevent a Vape Tank From Leaking Again?
- When Should You Replace the Tank Instead of Fixing It?
- Who’s Behind This Guide?
- Why Most Leak Advice Misses the Point
- Getting the Right Parts to Stop the Leak for Good
- Sources
- FAQ
How Do You Fix a Leaking Vape Tank Right Now?
Most leaks respond to a five-minute triage. Work through these steps in order before you assume anything is broken.
- Close the airflow ring completely, both while refilling and whenever you carry the device in a pocket or bag.
- Take the tank apart and wipe every surface dry, including the chimney where liquid tends to pool unnoticed.
- Check the O-rings on the coil, the base, and the glass. Reseat any that look twisted or sit unevenly, and replace ones that look flattened or cracked.
- Tighten the base and coil by hand only. Cross-threading a tank base is one of the fastest ways to turn a small leak into a cracked section of glass.
- Remove and re-prime the coil. Drip a few drops of e-liquid directly into the coil’s exposed cotton and let it sit for five to ten minutes before firing it again.
- Refill leaving an air gap at the top of the tank, and never pour liquid straight down the center chimney. Closing the airflow before you fill and leaving that gap is one of the most consistently repeated fixes across vape support pages, and for good reason: it works.
- Test at the coil’s rated wattage. Running a coil below its recommended range often causes flooding because the cotton can’t vaporize liquid fast enough.
If the tank still leaks after all seven steps, the coil itself is the likely culprit, and it’s time to swap it rather than keep tinkering.
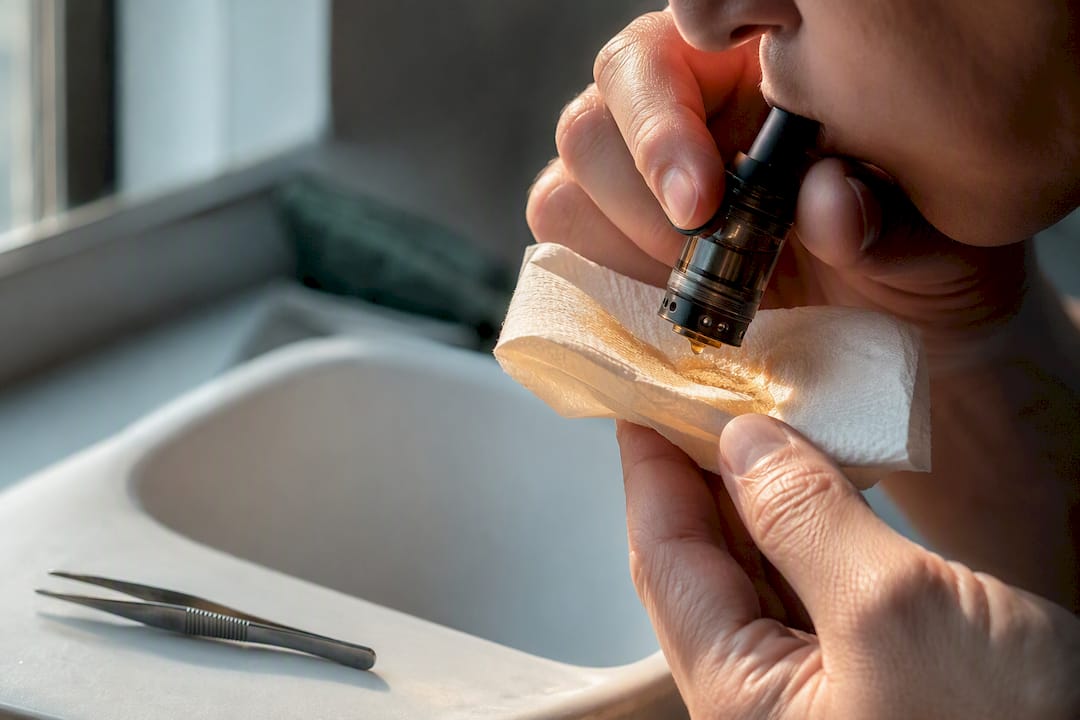
Pro Tip: If a coil floods mid session, don’t panic and don’t keep pulling on it. Cover the airflow holes with a finger, blow gently through the mouthpiece, and catch the excess in a tissue. It’s a rough fix, but it clears flooded cotton fast without taking the tank apart.
Why Is My Vape Tank Leaking?
A leak is rarely a sign of a broken tank. It’s almost always a small, fixable mismatch between pressure, wicking, and liquid, and most leaks trace back to setup errors or worn parts rather than a genuine hardware failure.
- Pressure imbalance. Opening the airflow while filling lets air push liquid out through the juice ports instead of settling into the tank properly.
- Flooded or under-primed coils. Cotton that hasn’t fully absorbed liquid can’t hold it back, so excess juice seeps out through the airflow holes.
- Worn or misaligned O-rings. These small rubber seals harden and shrink over weeks of use, especially with high-VG liquids that leave residue behind.
- Liquid viscosity mismatch. Thin, high-PG juice in a sub-ohm coil built for thick clouds will seep through wicking slots that a heavier liquid would seal. Matching PG/VG ratio to coil type cuts this risk significantly.
- Storage and temperature. A tank left on its side, or one that sat in a hot car, expands liquid and pushes it past seals that would otherwise hold fine.
One detail people miss: condensation and true leaking look almost identical but come from different causes. Condensation shows up as tiny droplets around the airflow ring after vaping in cold weather and dries up on its own. A real leak keeps growing, pools at the base, or shows up on your fingers when you pick up the tank.
What’s the Right Fix for Each Type of Leak?
Where the liquid shows up tells you exactly which part failed. Work through the location that matches your tank, in this order.
Leaking from the airflow holes
- Cover the holes and blow gently through the mouthpiece to clear flooded cotton into a tissue.
- Close the airflow completely and let the tank sit upright for ten minutes.
- Fire the coil at low wattage for two or three short puffs before vaping normally.
Leaking from the glass or side seam
- Remove the glass and check the top and bottom O-rings for flat spots or cracks.
- Reseat the glass evenly. Uneven glass placement is a common, overlooked cause here.
- Inspect the glass itself for hairline cracks, especially near the base threads. Replace the section if you find one; glass doesn’t reseal.
Leaking from the base or 510 connection
- Confirm the coil is screwed in fully and isn’t sitting crooked in its socket.
- Clean the chimney and the 510 connector with a dry cotton swab; dried residue there can break the seal.
- Check that the 510 pin isn’t loose or recessed. A pin that doesn’t make firm contact lets air sneak past the base seal.
Leaking from the top cap or fill port
- Confirm the fill port slider or plug is fully closed, not just resting on top.
- Check the top-cap O-ring for damage.
- Make sure the cap is threaded down completely. A cap that’s even slightly loose lets pressure escape unevenly.
Pro Tip: Keep a small kit on hand: a pack of spare O-rings, one or two backup coils that match your tank, a handful of tissues, and a small flathead screwdriver for stubborn bases. Most leaks get fixed in under two minutes once you’re not scrambling for parts.
How Do You Prevent a Vape Tank From Leaking Again?
Fixing today’s leak matters less than stopping tomorrow’s. A few habits handle most of the prevention work on their own.
- Close the airflow every time you refill, and again before you put the device in a pocket or bag.
- Clean the tank and chimney at every coil change, and dry every part completely before reassembly. Trapped moisture behaves just like a leak until it evaporates.
- Match your e-liquid’s PG/VG ratio to the coil’s design, and stay within the coil’s rated wattage range rather than pushing higher for bigger clouds.
- Replace O-rings before they visibly fail, not after. A coil’s usable lifespan is a good trigger point to check seals at the same time.
- Empty or fully cap tanks before flights, and never leave a device in a hot car. Heat expands trapped air and liquid faster than most seals can compensate for.
When Should You Replace the Tank Instead of Fixing It?
Some damage isn’t worth chasing with spare parts. Cracked glass, stripped threads on the base, or a tank that keeps leaking after you’ve replaced the coil and O-rings are all signs the hardware itself is done.
- Stop using the device immediately if e-liquid ever reaches the battery compartment or mod internals. Electrical contact with e-liquid is a genuine safety hazard, not just a mess.
- Photograph the crack, stripped thread, or leak pattern before contacting a retailer for a warranty claim or return.
- Run the simple math: a $3 O-ring or $6 coil is worth trying first, but once you’re replacing glass, threads, and seals all at once, a new tank is usually the cheaper and more reliable call.
Pro Tip: If you’re debating between fixing an old tank one more time or just replacing it, factor in how many coils you’ve already burned through on it. A tank that eats coils faster than it should is often hiding a seal problem you haven’t found yet.
Who’s Behind This Guide?
VapeCiga is a U.S.-based vape retailer that stocks replacement tanks, coils, and O-rings alongside detailed product and maintenance pages built for exactly this kind of troubleshooting. This guide was written by James, who covers device troubleshooting for VapeCiga’s blog, including practical breakdowns of leak fixes and coil behavior.
If you’re dealing with a pod system instead of a standard tank, the fix differs slightly. Our guide on fixing a pod leaking from the bottom covers that scenario in more depth.
Why Most Leak Advice Misses the Point
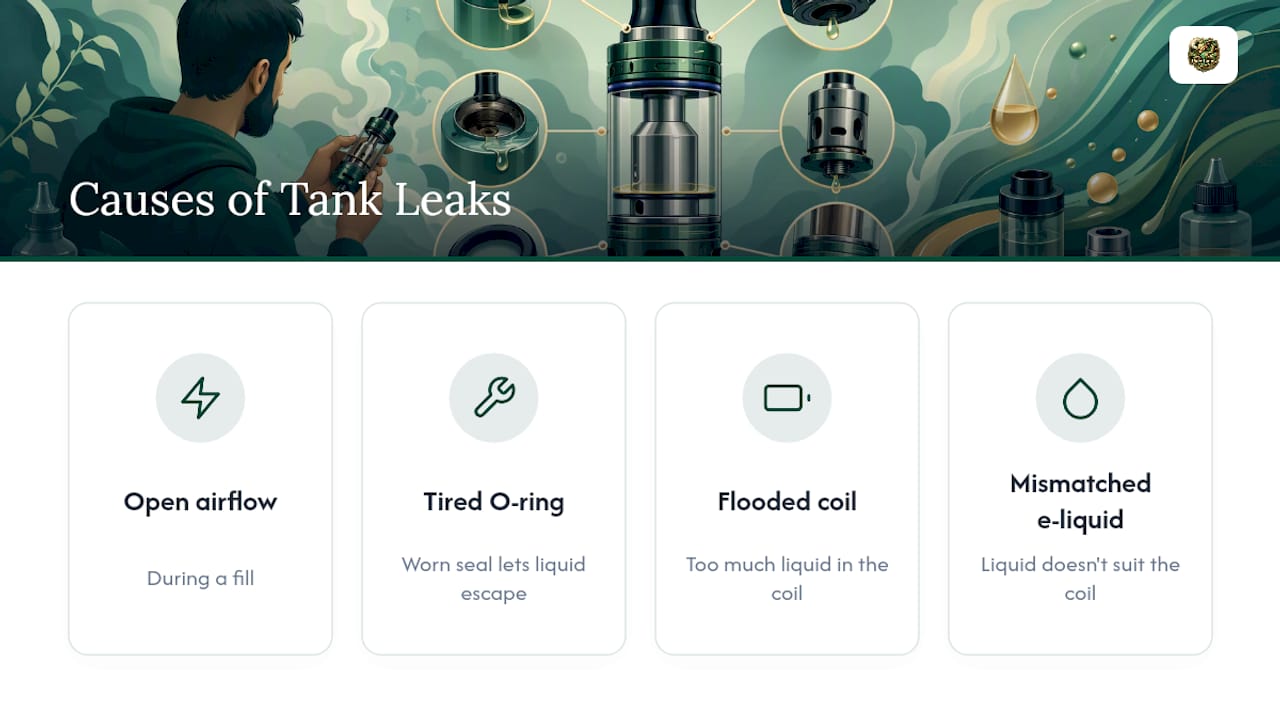
Most troubleshooting guides treat every leak like a mystery to be solved from scratch. It usually isn’t. The overwhelming majority of leaks trace back to one of four things: open airflow during a fill, a tired O-ring, a flooded coil, or liquid that doesn’t match the coil it’s sitting in. Once you know that, diagnosis stops being guesswork and starts being a checklist.
Where conventional advice falls short is the assumption that everyone wants to troubleshoot. Plenty of vapers don’t want to spend fifteen minutes chasing an O-ring. For them, the honest answer isn’t “try harder to fix it.” It’s recognizing that some tanks have simply reached the end of their useful life, and a fresh tank with new seals solves in thirty seconds what an old one couldn’t in three attempts.
My take: try the checklist first, always. But don’t feel obligated to nurse a tank back to health if it’s already cost you two coils and an afternoon. Replacement isn’t defeat. Sometimes it’s just the faster math.
— James
Getting the Right Parts to Stop the Leak for Good
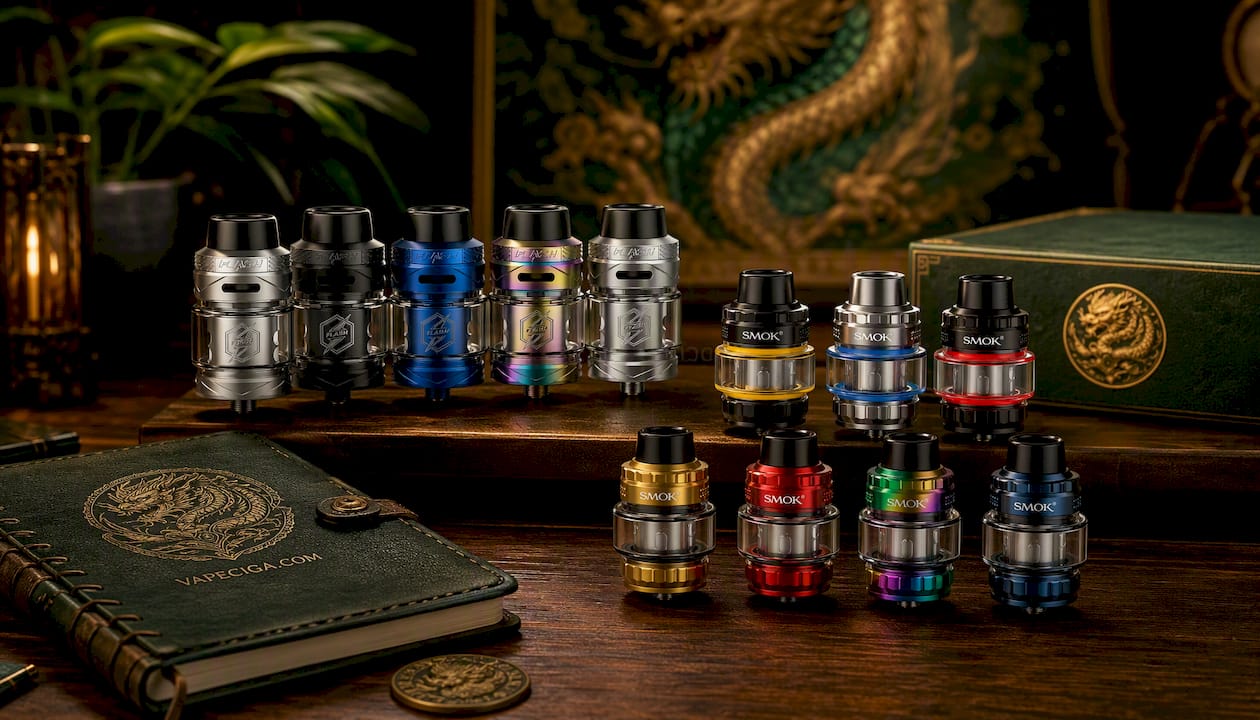
If you’ve worked through the checklist and the tank is still fighting you, the parts themselves might be past their useful life. VapeCiga stocks two replacement tanks that solve this cleanly: the IJOY Flash Tank 4.5ml top filling tank, built with a top-fill design that sidesteps the base-leak issues older tanks struggle with, and the Smok T-Air Subtank, a solid option if you want a proven seal design without hunting for discontinued O-rings.
Before buying a replacement coil, check the coil code printed on the box against your tank’s model. A coil that’s off by even one letter often won’t seat flush, which recreates the exact leak you’re trying to fix. Keeping spare O-rings on hand costs a few dollars and saves you from replacing a whole tank over one worn seal. Browse VapeCiga’s current tank and coil selection, match the code to your device, and get the right part shipped before your next fill.
Sources
- How to Fix a Leaking Vape Tank | Causes & Easy Fixes
- Vaping 101: How to stop your vape tank from leaking
- Why Is My Vape Tank Leaking? | Quick Fixes
- PMCID: PMC7171278 (relevant vaping/e-cigarette literature)
FAQ
Can I still use my vape if it’s leaking?
You can use it once the leak is fully dried and contained, but never if e-liquid has reached the battery or mod internals. In that case, stop immediately and inspect the device before powering it on again.
What should I do if my vape is leaking?
Close the airflow, remove the tank, and wipe it dry, then check the O-rings and coil seating before refilling. Most leaks resolve after reseating a seal or re-priming the coil.
Why is my vape leaking through the air holes?
A flooded or under-primed coil is the most common cause, since excess liquid has nowhere to go but back out through the airflow holes. Clearing the coil and letting it re-prime for several minutes usually fixes it.
What should you do when a tank is leaking?
Diagnose the source first by checking the airflow holes, glass, base, and top cap for where the liquid actually appears. Fix the matching part, whether that’s an O-ring, coil seating, or a cracked glass section, rather than guessing.